
Preparing Your Files & Screen Calibration

File Format
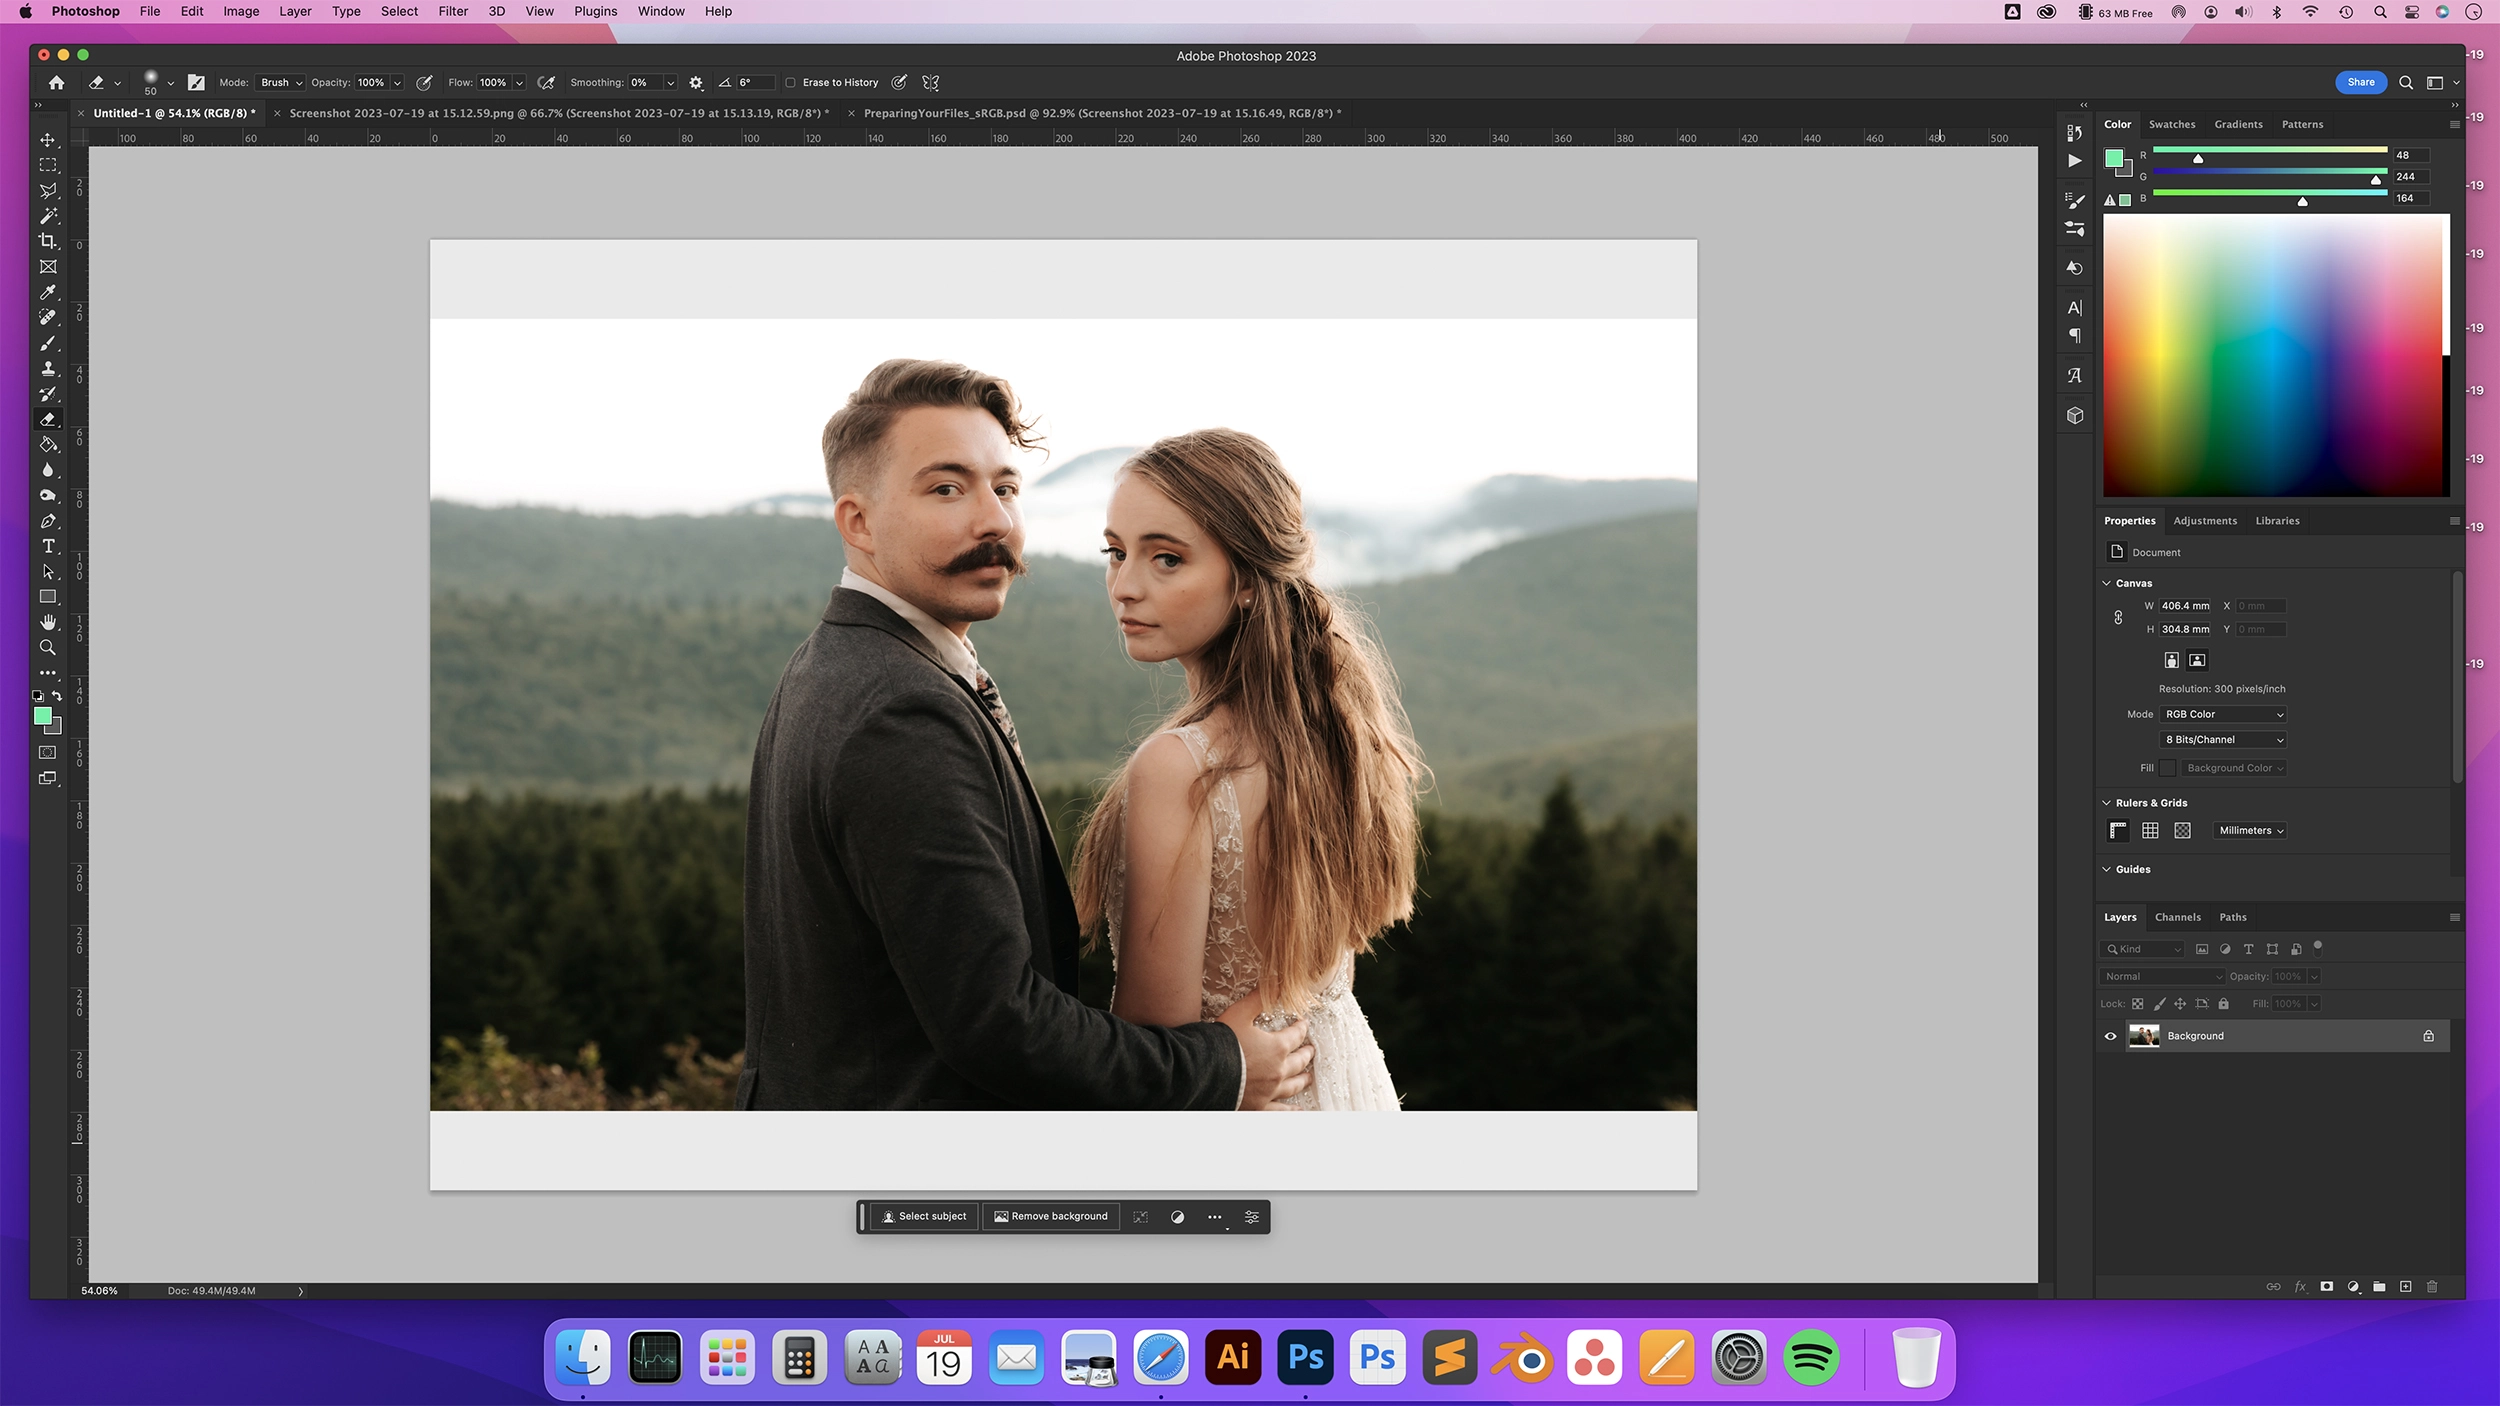
When saving you must ensure the file is sRGB and not RGB. This is easily done in Photoshop.
With your file open, simply go to Edit > Convert to Profile. A window will pop up displaying the ‘source space’ (which is the current colour profile) and the destination space is what you would like to convert to.
Find ‘sRGB IEC61966-2.1’ in the drop-down and then click OK.
Please note: All files should be saved in JPEG format.

Aspect Ratios & Bespoke Sizes
When sizing your image ensure the print size and aspect ratio match the size of the print you are ordering and are at 300dpi.
We can print any bespoke size you require, but the file must be sized accordingly.
E.G. if you require a 16”x10” print size, firstly size the file to 16”x10” at 300dpi within Photoshop and then go to Image > Canvas Size’ and enter 16”x12” as this is the next size up we offer from the bespoke size. You will see canvas size adds a border to your file but once you trim this off it will leave you with a 16”x10” print.
Please note: If you size a file a 6"x4" and order a 10"x8" you will receive a cropped 10"x8" and not a 6"x4" positioned in the middle of a 10"x8".

Bleeds & Safe Areas
We use c-type photographic printers which means you will always get a 2-3mm crop around your image.
When adding a water mark or text to an image please make sure you have 5mm space to account for the crop. Also when adding your own border again remember you will lose 2-3mm from it at the print stage.
ICC Paper Profiles
Simply click the icons below to begin downloading.

Fuji Maxima
Currently Unavailable
Installing Paper Profiles
Windows: Right-click the downloaded ICC profile and select ‘Install Profile’ from the menu.
Mac: Copy the ICC profiles to the ‘Profiles’ folder located in Finder / Go / Computer / [Your HD] / Library / ColorSync / Profiles.
Paper Profiles are not essential; however, they will improve shadow detail on prints and remove colour cast on images.
Screen Calibration
It is extremely important that your monitor is correctly calibrated before editing images and ordering prints and products with us. Monitors can often be very bright and you may end up receiving a darker image than you expected. For best results we recommend purchasing a screen calibration device such as SpyderX and i1Display Studio.
iMac and Apple products with a built in monitor are generally very good and do not need calibrating, but again they will default to the brightest setting. If you go to monitor settings and move the brightness slide bar to the middle this will give you a good match.
Useful iMac Screen Calibration Tips


Setting Brightness to 50%
Turn off Automatically Adjust Brightness Settings
Turn Off Night Shift
Turn Off True Tone
Useful PC Monitor Calibration Tips
Monitor Brightness 50%
Monitor Contrast: 50%
Monitor Mode | Colour Mode: Set to 'Standard' (Not Warm / Cool / Game / Cinema etc)
Screen Calibration Test Print Service
Order a 8” x 6” calibration print through our online ordering system as a 'Lustre' print. Once you receive the printout, open the same file on your computer and use the printout as a reference to adjust your monitor's brightness, contrast, and colour settings until they closely match the printed colours.
Click Here to download our 8" x 6" Calibration Print.

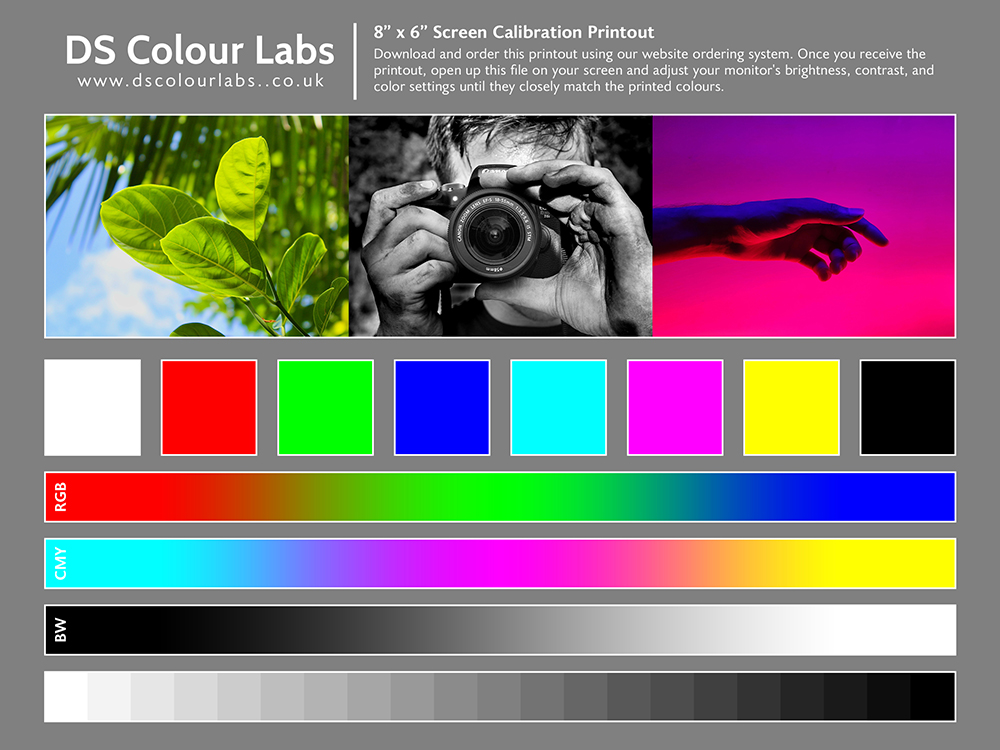
Image Sizes and Pixel Dimensions (Based on 300ppi)
| Size | Pixels |
| 5" x 4" | 1500 x 1200 |
| 5" x 5" | 1500 x 1500 |
| 6" x 4" | 1800 x 1200 |
| 7" x 5" | 1200 x 1500 |
| 8" x 6" | 2400 x 1800 |
| 9" x 6" | 2700 x 1800 |
| 8" x 8" | 2400 x 2400 |
| 9" x 9" | 2700 x 2700 |
| 10" x 7" | 3000 x 2100 |
| 10" x 8" | 3000 x 2400 |
| A4 | 2475 x 3510 |
| Size | Pixels |
| 12" x 8" | 3600 x 2400 |
| 10" x 10" | 3000 x 3000 |
| 12" x 10" | 3600 x 3000 |
| 11" x 11" | 3300 x 3300 |
| 14" x 11" | 2400 x 3300 |
| 15" x 10" | 4500 x 3000 |
| 12" x 12" | 3600 x 3600 |
| A3 | 3510 x 4950 |
| 16" x 12" | 4800 x 3600 |
| 18" x 12" | 5400 x 3600 |
| 20" x 16" | 6000 x 4800 |